In BDS 101 we were assigned a project, that project was to choose a word, contsruct that word 2 feet tall, in 3D and construct it by its meaning. Our group was doing the word 'compress'.
The Process of Compress
Okay, rewind a bit...
-Before we constructed the two-foot version we first had to construct a three-inch version of letters for practice with the use of three different material. Then a six-inch version the second time around.


For the six-inch version we had to brainstorm how we wanted our image to look like. One of our teammates, Ritche used stalls to make 2D models 3D for the three-inch version. We figured that method would be industrial but simple to do for the final version! Bella made one of the three-inch models out of pillows which made us have another idea.
Above was some of us constructing the six-inch models


Six-inch mockup
Since our word was compress, we wanted to emphasize what the word meant. With the pillows being a material that can bend and shape, we wanted to make the other words out of cardboard and add some weight so the pillows in between would compress. We envisioned to have the words stacked as shown above to show the compression.
Ad. Pillow Crafting with Bella!


We started constructing, we printed out the words in full font of two feet and traced them on the cardboard. As we were doing so it came to our attention there was going to be an error. The pillows would completely mesh into the other words considering there was no base with the cardboard since we were using stalls. We came to terms that we will change from the stalls to have the word have complete sides and bases.

Since we had curvy words, we tried to come up with a solution to make the cardboard bendable. We were going to tear it down the middle till some of us found that kind of difficult, so we decided to score the cardboard like so.

Consruction of the letter "P" and "S" with sketch of measurements
After scoring and having all the letters cut out, we measured and tried to align pieces to build the 3D models for the final piece. It was so far so good... until the gluing...

Marua and Hayden gluing
At first, we used some E600 glue, it worked for the two-inch models well for the two-foot...

Trouble sticking "P" together
It wouldn't stick... So, after contemplating, Levell brought a glue gun the next day to resolve the issue while Hayden brought gorilla glue adhesive and regular gorilla glue. (As you can tell, he wasn't having it).
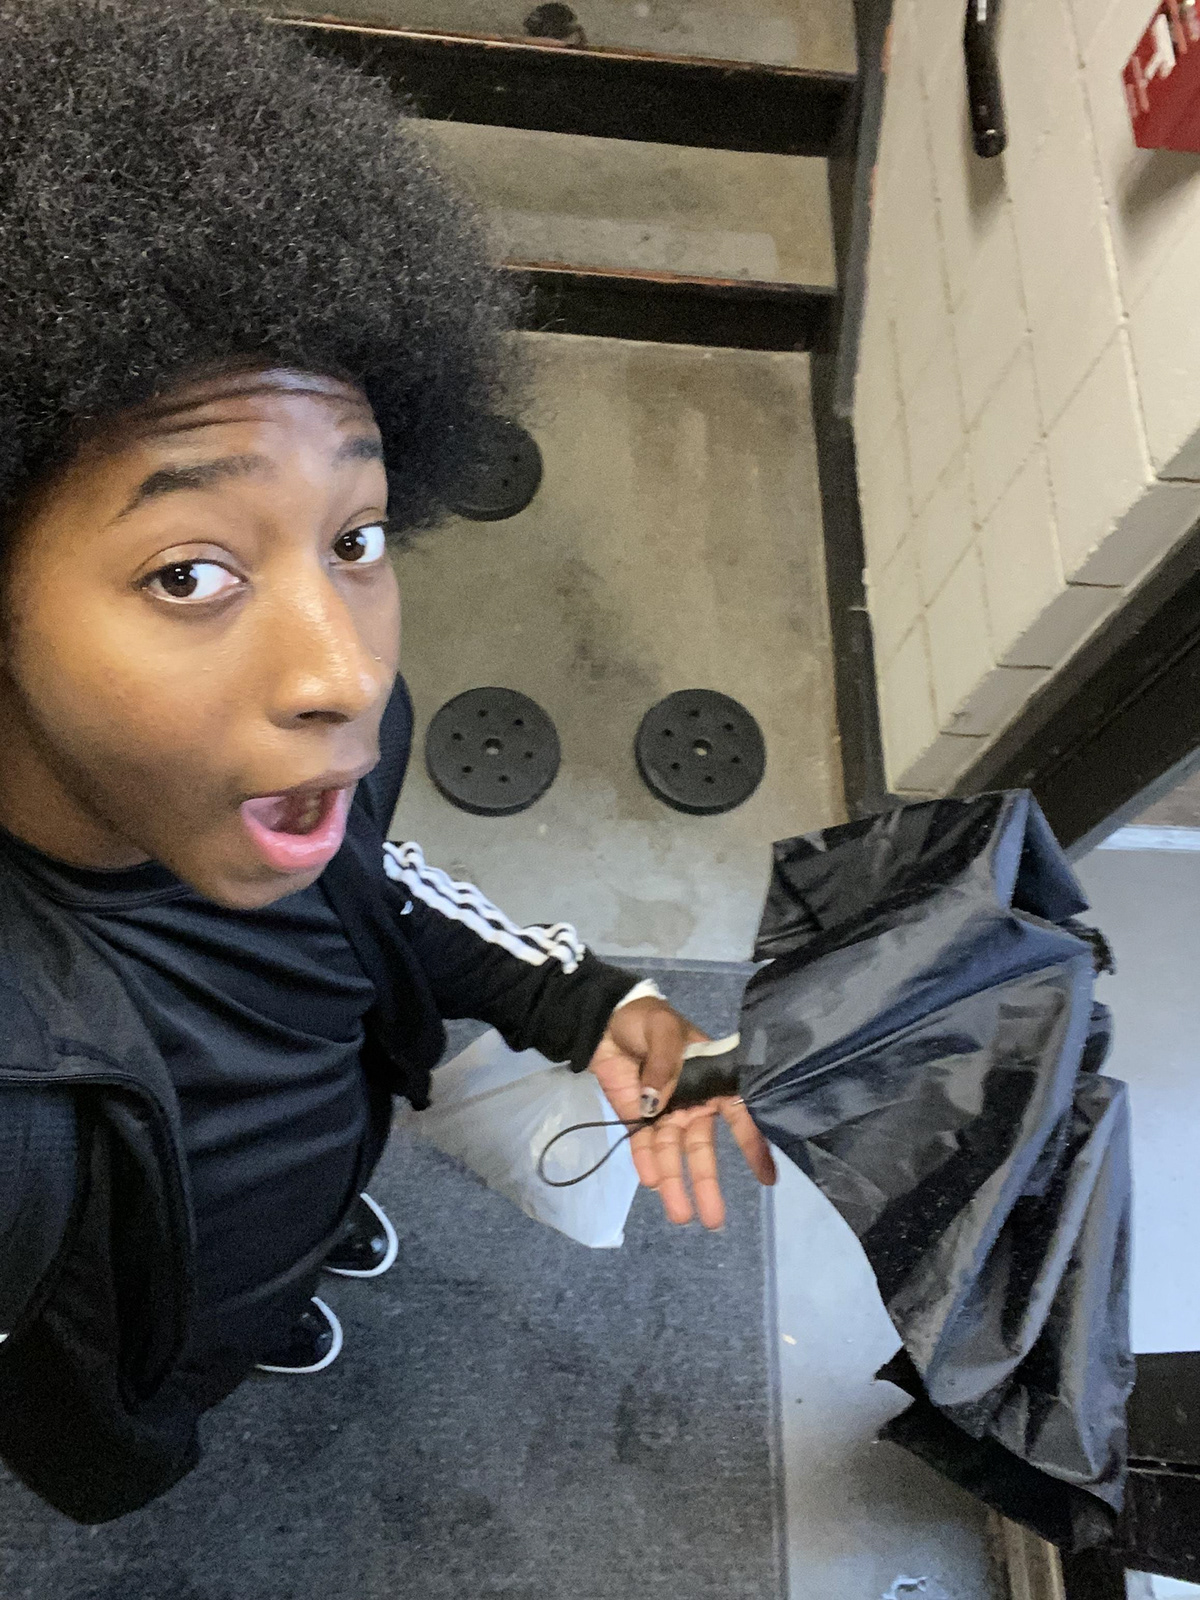
P.S. check the weather doing these projects kids because it just might so rain


Luckily the letters were only inside the building, and I had an umbrella, and the supplies are in a bag... I did have to carry about 60 lbs of weights up with me though...
3/4 of the weight plates in action
As we got to crafting, we started to use the hot glue and gorilla glue and used tape to keep the letter in place on the outside to keep the process going.


After gluing, we sprayed adhesive just to be safe and tada!


The letters started to stay together.... Until their was another error...

The 'P' had unleveled surfaces which caused the letter to not stay glued down.
At this point it was kind of frustrating, until one of the members said enough was enough and had a brilliant idea.

Risky but we chose to just keep the tape on and tape all around the letter, so it was bound to stay down. After this we kept doing that for the rest of the letters.

After constructing all the two-foot letters we had to think the next class on how to keep the words standing. We selected the art library as a designated spot for our words since the aisles can open and close letting us adjust how we wanted our words to be.


We did a test on how they look, some of us didn't like the extra space below, we received some help from our professors.

Professor Lily and May helping and explaining their opinions
Our professors came to switch things up a bit, which in their version you can see the letters aren't exactly constructed which gives it a fumble look. We personally thought it was giving more compress, so we went with this idea.
We still didn't know how we wanted to stand. We suggested rods in the back of the words, so we went to the wood shop.


After going there, one of professors mentioned her opinion. She didn't like how risky it was. Which some of us thought the same thing. We had another idea of just using the library shelves as the support since we can move them to our liking.


It worked! We put paper on the sides to protect the books. All we needed left was some paint and a miracle to keep them in place for the final.


We decided to use black paint since black looks heavier than white, which makes sense since our pillows are the words getting compressed. Slightly concerned if it would cover the tape properly.
For a more polished look, we spray painted the words black on top of the normal paint for touch ups and hard to reach places. It also helped make the time more invisible!


The after product looks more covered and polished!
Final day! We went to the library, set up and it all came together!

Final product of 'Compress' (Proud dad in the corner).
As for people that never constructed words, pretty cool right. We were impressed and relieved for how the final product turned out.
Now, this have all could been explained easier if only there was a video. Oh wait, there is!
Compress Time-lapse Vlog Process!


